Showing posts with label how. Show all posts
Showing posts with label how. Show all posts
Friday, March 13, 2015
ZenUI How to Setting up your Profile
 |
| ZenUI-Zenfone, How to Setting up your Profile |
Setting up your profile
Make your Zenfone device truly your own and set up your profile info.
Make your Zenfone device truly your own and set up your profile info.
- Launch the Contacts app then tap Set up my profile or ME. NOTE: ME appears when you’ve set up your Google account on your Zenfone device.
- Fill in your info such as mobile or home number. To add other info, tap Add another field.
- When you’ve completed your info, tap Done. To view your profile info, swipe down from the top
right of your screen to launch the Quick settings panel, then tap the button with your name on it.

Thursday, February 12, 2015
How to disable Zenfone CPU rendering
Credit to: AriaSatya Mahatma
This would increase performance and battery because the CPU is being freed up to perform other tasks. This tutorial will not interfere with the OTA update.
Requirements
1. Rooted Device2. Root Explorer (Example : Es File Explorer)
Step-by-step
1. Go to /system/lib/egl2. Copy egl.cfg to SDCard for back up if you want.
3. Edit egl.cfg
4. Delete "0 0 android"
5. Save & Exit
6. Delete libGLES_android.so
7. Reboot your Device
3. Edit egl.cfg
4. Delete "0 0 android"
5. Save & Exit
6. Delete libGLES_android.so
7. Reboot your Device
Screenshot
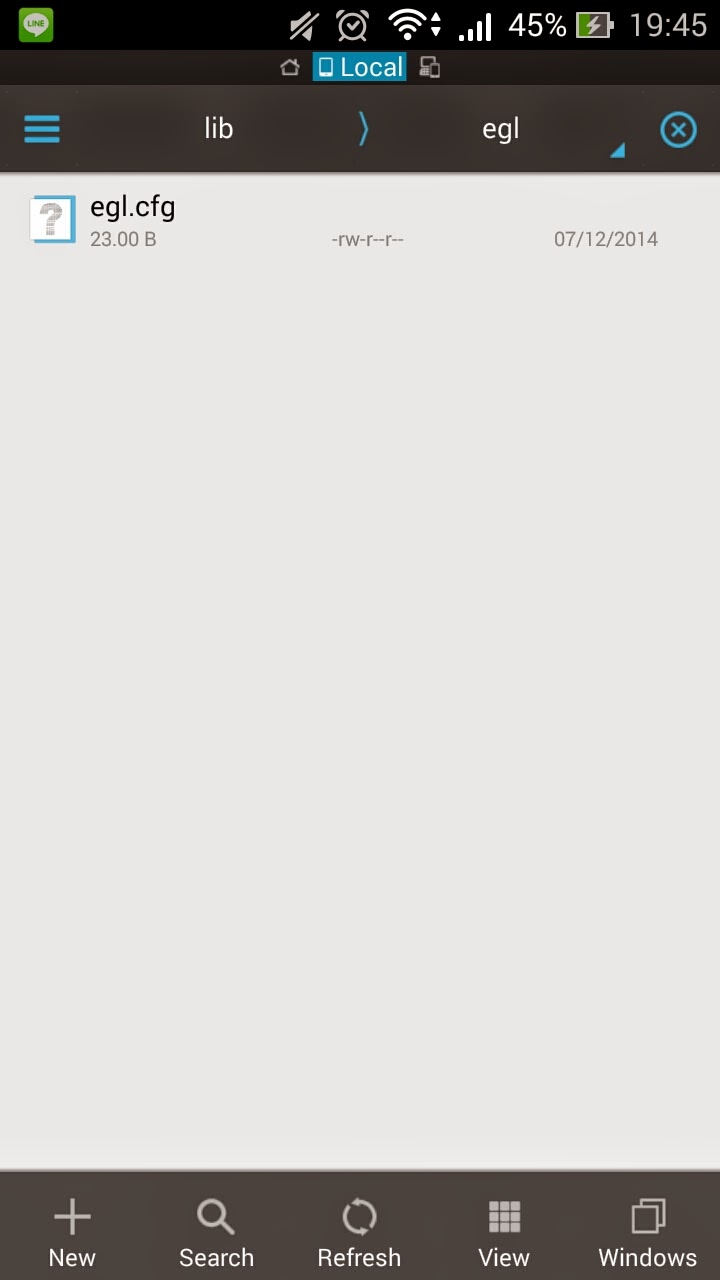 |
| 1 |
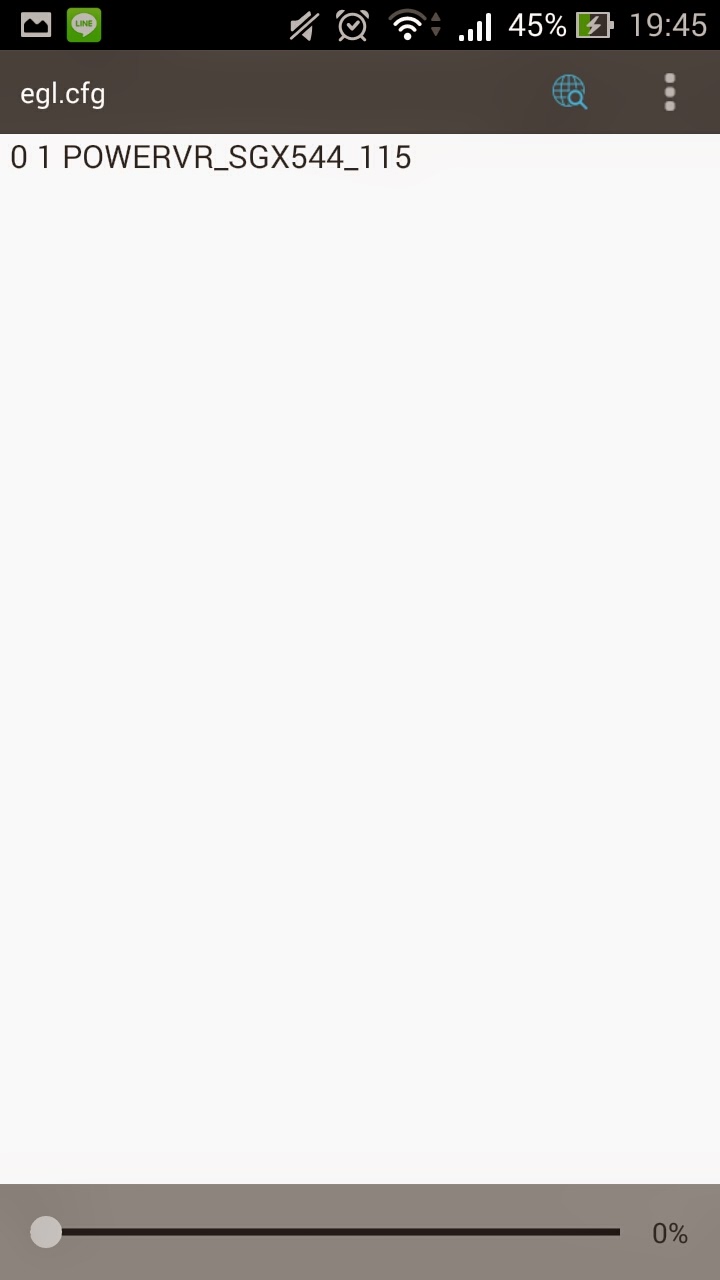 |
| 2 |
Wednesday, February 11, 2015
How to add remove or change buttons of function in Quick settings on phone
How to add, remove or change buttons of function in Quick settings on phone?
1. Tap "Quick settings options" icon in Quick settings.

2. The "tools" are the functions of green buttons in Quick settings. Please select 4 tools here.
The "items" are the functions of blue buttons in Quick settings. Please select at least 8 items here.
Tap "Save".

Sunday, January 25, 2015
How to Create A PIN Lock for Samsung Galaxy Gio GT S5660
Locking phone screen to prevent other people from easily accessing the phone seems to be a must-to-do thing to protect the private data. And among all available methods, a relatively effective method is creating a PIN lock. Moreover, this post primarily introduces the steps to create a PIN lock on Samsung Galaxy Gio GT-S5660.
Step 1: Open Settings.
Step 2: Choose Location and security.
Step 3: Click Set screen lock.
Step 4: Select PIN to go on.
Step 5: Select 4 numbers to form a PIN, and press Continuewhen finished.
Step 6: Reselect the 4 numbers to confirm the PIN, and tap OK.
Related Articles:
How to Set Pattern Lock on Samsung Galaxy Gio GT-S5660
How to Set Password on Samsung GT-I8190N
How to Set Password on Samsung GT-I8268
How to Enable and Disable USB Debugging in Samsung GALAXY Tab2
How to Set Password on HUAWEI C8813

To set a password on HUAWEI C8813 phone, you can adopt either of the following two methods.
Way 1: Set a password in All settings.
Step 1: Open Settings.
Step 2: Choose Security in All settings.
Step 3: Click Screen lock to move on.
Step 4: Select Password.
Step 5: Enter at least 4 characters (including at least 1 letter) and click Continue.
Step 6: Re-enter the password and tap OK.
Way 2: Set a password in General settings.
Step 1: Access Settings.
Step 2: Select General on the top left.
Step 3: Choose Screen lock.
Step 4: Click Screen lock in the next interface.
Step 5: Select Password.
Step 6: Set up a password according to the guidance mentioned above.
Related Articles:
How to Set Password on HUAWEI U8800/U8800+
How to Set Password on HUAWEI Ascend P6/P7
How to Set Password on HUAWEI Honor 3C
How to Set Password on HUAWEI Honor 3X
How to Turn on USB Debugging in Huawei Honor 3X
Saturday, January 24, 2015
How to Set Password on Samsung ATIV S GT I8750
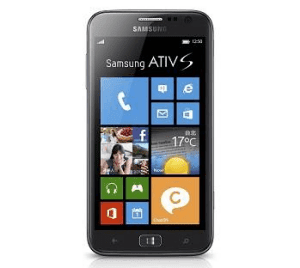
With Windows Phone 8 system, 4.8-inch screen and many other advantageous configurations, Samsung ATIV S GT-I8750 phone has enjoyed great popularity among customers. However, a number of users have no idea how to set a password to it. Therefore, the steps to set a password on Samsung GT-I8750 are introduced below.
Step 1: Swipe left on the screen to open a menu of all apps.
Step 2: Swipe up on the menu and click Settings.
Step 3: Choose Lock screen.
Step 4: Find Password option and move the slider to right so as to turn it on.
Step 5: Enter a password, reenter it and tap Finishin the next interface.
Related Articles:
How to Set Password on Samsung Trend II I739
How to Set Password on Samsung S5380/S5380I
How to Open USB Debugging in Samsung Galaxy S5
Android USB Driver for Samsung
How to Set Password on ZTE V5
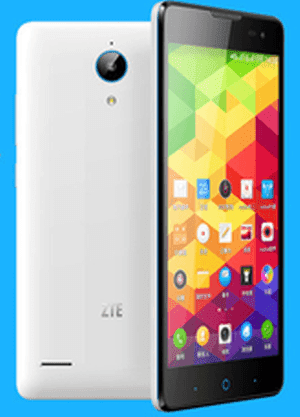
A password is compared to a security lock, which can effectively help you prevent other people from directly using your phone without your allowance. Thus, it is indispensable and sensible for you to learn how to set a password on your ZTE V5 phone, following the steps below.
Step 1: Open Settings.
Step 2: Locate and enter Security and location.
Step 3: Click Set screen lock to move on.
Step 4: Choose Password in the options listed.
Step 5: Set up your ideal password and tap Continue.
During this step, you should make sure that the code must contain at least 4 characters, including 1 letter at least.
Step 6: Re-enter the password and click OK when finished.
Related Articles:
Step 6: Re-enter the password and click OK when finished.
Related Articles:
- How to Enable USB Debugging in ZTE Grand S II LTE
- Android USB Drivers for ZTE
- Recover All Deleted Text Messages on ZTE Blade V-series Android
- How to Set Password on ZTE Nubia X6
- How to Set Password on ZTE V880
How to Set Password on ZTE Nubia X6

Setting a password to your ZTE Nubia X6 phone is a wise option since it will protect the significant phone data for you. As for how to realize it, you can refer to the following procedures.
1. Open Settings.
2. Find and click Security and location.
3. Choose Screen lock.
4. Select Password among the options.
5. Input an at least 4-digit code, and tap Continue when done.
6. Re-input the password and click OK when finished.
Related Articles:
Related Articles:
- Android USB Drivers for ZTE
- How to Enable USB Debugging in ZTE Grand S II LTE
- How to Set Password on ZTE Nubia Z5/Nubia Z5 Mini
- How to Set Password on ZTE Nubia Z5S/Nubia Z5S Mini
- Recover All Deleted Text Messages on ZTE Blade V-series Android
Friday, January 23, 2015
How to Set Password on HUAWEI Honor 3X

Cannot find the Password setting in your HUAWEI Honor 3X phone? In fact, you can locate it in “Screen lock” settings. If you still have no idea where it is, you can refer to the following guide which not only tells you how to find it, but also teaches you how to set a password.
Step 1: Enter Settings.
Step 2: Locate and access Security.
Step 3: Find and select Screen lock in Security settings.
Step 4: Choose Password to go on.
Step 5: Set up a password according to the following instruction.
Enter at least 4 characters (including at least 1 letter) in the empty box and click Continue. After that, re-enter the code and tap OK.
Related Articles:
How to Turn on USB Debugging in Huawei Honor 3X
How to Set Password on HUAWEI Ascend P6/P7
How to Set Password on HUAWEI U8800/U8800+
Huawei Android USB Drivers
Tuesday, January 20, 2015
How to Set Pattern Lock on Samsung Galaxy Gio GT S5660
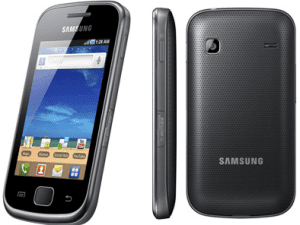
Almost every day, you can see people around you draw diversified patterns on the phone screens to unlock their phones. If you haven’t set a pattern lock on your Samsung Galaxy Gio GT-S5660 phone, your curiosity for the method to set it by yourself will definitely be aroused. Hence, this post illustrates the detailed steps for your reference.
Steps to set a pattern lock on Samsung Galaxy Gio GT-S5660:
Step 1: Open Settings in the phone.
Step 2: Find and access Location and security.
Step 3: Locate and click Set screen lock.
Step 4: Choose Pattern to move on.
Step 5: Draw a pattern and tap Continue. Meanwhile, please note that the pattern must connect at least 4 dots.
Step 6: Draw the pattern again and click Confirm.
Related Articles:
How to Create A PIN Lock for Samsung Galaxy Gio GT-S5660
How to Set Password on Samsung GT-I8190N
How to Set Password on Samsung GT-I8268
Android USB Driver for Samsung
How To Use Sony Xperia M2 as Modem to Connect to Internet From PC
Sony Xperia M2 and Xperia M2 Dual are the two higher mid range Android smartphones. Both are identical interms of specification except the number sim they support. The Sony Xperia M2 is powered by 1.2 GHz Qualcomm MSM8226 Quad Core Processor with 1GB of RAM. It has 4.8 inch qHD display and 8MP primary camera. It supports most of the connecting features. In this Xperia Tips post, we will learn how to use Sony Xperia M2 as Modem to connect to Internet from PC.
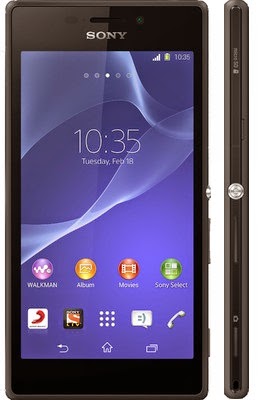
It is good configure WiFi hotspot settings before you enable Xperia M2 WiFi Hotspot.
You are done. Now you can use Sony Xperia M2 as WiFi hotspot to connect other WiFi enabled device to internet.
How to use Sony Xperia M2 as Modem
There are three ways, you can share the internet data from your Xperia M2 to other devices. 1. WiFi hotspot 2.USB tethering 3. Bluetooth Tethering. In this post we will learn USB tethering and WiFi hotspot.How to use Sony Xperia M2 as WiFi Hotspot
- Go to Settings from the app tray.
- Then go to More… > Tethering & portable hotspot.
It is good configure WiFi hotspot settings before you enable Xperia M2 WiFi Hotspot.
- Tap Portable Wi-Fi hotspot settings > Configure Wi-Fi hotspot.
- Enter the Network SSID information.
- To select a security type, tap the Security field. If required, enter a password.
- Tap Save.
- Tap back button and select Portable Wi-Fi hotspot checkbox.
- When prompted, tap OK to confirm. WiFi icon appears in the status bar once the portable Wi-Fi hotspot is active.
- To stop sharing your data connection via Wi-Fi® , unmark the Portable Wi-Fi hotspot checkbox.
How to customise Xperia M2 WiFi hotspot Settings
- Tap Settings > More… > Tethering & portable hotspot.
- Tap Portable Wi-Fi hotspot settings > Configure Wi-Fi hotspot.
- Enter the Network SSID for the network.
- To select a security type, tap the Security field.
- Enter a password you like.
- Tap Save.
How to Enable Sony Xperia M2 USB tethering
- Using the USB cable connect Xperia M2 to a computer.
- Tap Settings > More… > Tethering & portable hotspot.
- Select USB tethering checkbox, then tap OK when prompted. USB tethering icon is displayed in the status bar once you are connected.
- To stop sharing your data connection, unmark the USB tethering checkbox or disconnect the USB cable.
How to Set Password on HTC One M7
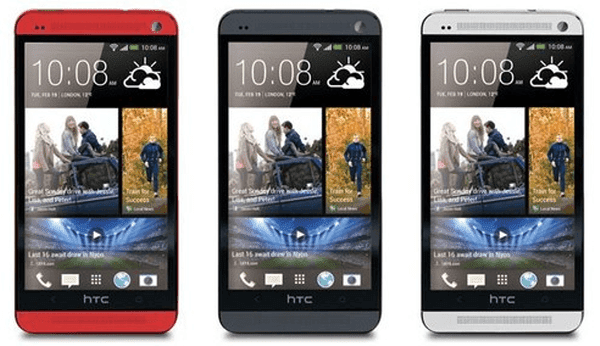
If you feel embarrassed to orally warn other people not to use your HTC One M7 phone, you can set a password to it so as to euphemistically imply your idea. And the following steps can help you quickly set a password on your phone.
Step 1: Go to Settings.
Step 2: Find and click Security.
Step 3: Choose Screen lock.
Step 4: Select Password from the screen lock options.
Step 5: Type a password containing at least 4 characters and tap CONTINUE.
Step 6: Re-type the password in the box and click OK.
Tip: If you don’t want others to see the password when you input it to unlock your phone, you can deselect Make passwords visible in Security.
Related Articles:
- How to Set Password on HTC One M8
- Android USB Drivers for HTC
- Restore Deleted SMS on HTC One Mini Android Phone
Sunday, January 18, 2015
How to Set Password on Sony Xperia Z L36h

With the following guide, you can rapidly set a password to your Sony Xperia Z L36h phone.
Step 1: Open Settings.
Step 2: Enter Security.
Step 3: Select Screen lock.
Step 4: Choose Password.
Step 5: Type at least 4 characters to constitute a password and touch Continue when finished.
Step 6: Re-type the password and click OK.
Step 6: Re-type the password and click OK.
Related Article:
- Android USB Drivers for Sony
Saturday, January 17, 2015
How to Set Password on ZTE V880

The steps to set a password on ZTE V880 phoneare as follows.
Step 1: Get into Settings.
Step 2: Choose Location and security.
Step 3: Tap Set screen lock.
Step 4: Select Password in the options available.
Step 5: Set up a new password and click Continue.
Tip: The code should be at least 4 characters, containing at least 1 letter.
Step 6: Re-type the password and tap OK when done.
Related Articles:
Step 6: Re-type the password and tap OK when done.
Related Articles:
- Android USB Drivers for ZTE
- How to Enable USB Debugging in ZTE Grand S II LTE
- How to Set Password on ZTE Nubia X6
- How to Set Password on ZTE Nubia Z5/Nubia Z5 Mini
- Recover All Deleted Text Messages on ZTE Blade V-series Android
Friday, January 16, 2015
How to Set Password on Sony Xperia Z2

Setting a password on Sony Xperia Z2 phone can be realized through the steps below.
Step 1: Open Settings.
FYI, you can open it by either of the following two methods.
1. Swipe down on the home screen, click “Quick settings” and choose “Settings”.
2. Click the middle icon at the bottom and select “Settings”.
Step 2: Get into Security.
Step 3: Choose Screen lock.
Step 4: Select Password in the options listed.
Step 5: Input at least four characters to be a password and tap Continue.
Step 6: Re-input the code and click OK to confirm it.
After finishing the sixth step, the password has been successfully set to protect the Sony Xperia Z2 phone.
Related Articles:
After finishing the sixth step, the password has been successfully set to protect the Sony Xperia Z2 phone.
Related Articles:
- Android USB Drivers for Sony
- How to Set Password on Sony Xperia Z1
- How to Set Password on Sony Xperia Z L36h
- How to Set Password on Sony LT26i/LT26ii
How to Set Password on HUAWEI Ascend P6 P7

There are two ways you can apply to set a password on your HUAWEI Ascend P6/P7 phone, which are respectively introduced below.
Method 1: Set it up in All settings.
1. Open Settings and choose Securityin All settings.
2. Select Screen lock to go on.
3. Choose Password from the options provided.
4. Enter at least 4 characters (including at least 1 letter) and tap Continue.
5. Re-enter the password and click OK.
Method 2: Set a password in General settings.
1. Access Settings and select Generalon the top left corner.
2. Choose Screen lock.
3. Select Screen lock in the following interface.
4. Click Password to move on.
5. Type a password composed of at least 4 characters and click Continue.
6. Re-type the code and tap OK.
Related Articles:
How to Set Password on HUAWEI U8800/U8800+
How to Turn on USB Debugging in Huawei Honor 3X
Huawei Android USB Drivers
Thursday, January 15, 2015
How to Turn on USB Debugging in Huawei Honor 3X
Many users cannot find USB debugging in their Huawei Honor 3X phones, so they are unable to turn it on when there is necessity to do so. In consequence, this text will illustrate the method to turn on USB debugging in Huawei Honor 3X in detail.

Firstly, enable developer mode in the phone.
1ststep: Open Settings.
2ndstep: Find and choose About phone.
3rdstep: Locate Build number and click it for 6 to 8 times until a prompt informs you that developer mode has already been enabled.
Secondly, find and turn on USB debugging in Developer options.
1ststep: Go back to Settings.
2ndstep: Click Developer options in Settings.
3rd step: Select USB debugging and choose OK in the pop-up window to confirm allowing USB debugging.
Related Articles:
How to Set Password on HUAWEI Honor 3X
Huawei Android USB Drivers
How to Set Password on HUAWEI Ascend P6/P7
How to Enable USB Debugging in ZTE Grand S II LTE

Owing to its improved hardware components, diversified applications and metal-like appearance design, ZTE Grand S II LTE, with Android 4.3, is getting more and more popular in the mobile phone market. Meanwhile, a significant number of users are inquiring how to enable USB debugging in it. As a result, this article will introduce the concrete operation step by step.
Step 1: Open Settings.
Step 2: Click More and tap About phone.
Step 3: Find Build number, and keep clicking it until the developer mode is enabled.
Step 4: Go back to Settings and tap Developer options in it.
Step 5: Check USB debugging and click OK in the pop-up window to allow USB debugging.
Related Articles:
Android USB Drivers for ZTE
Recover All Deleted Text Messages on ZTE Blade V-series Android
Wednesday, January 14, 2015
How to Open USB Debugging in Samsung Galaxy S5
To open USB debugging in Samsung Galaxy S5(Android 4.4), you can follow the steps below.
Firstly, access Settings.
Secondly, locate and open About device.

Subscribe to:
Posts (Atom)